Ready for a VERY easy, VERY quick DIY with big impact? I thought so. This was a project I did in our old home so I don’t have step-by-step photos but it’s so simple I think it’ll be self-explanatory.
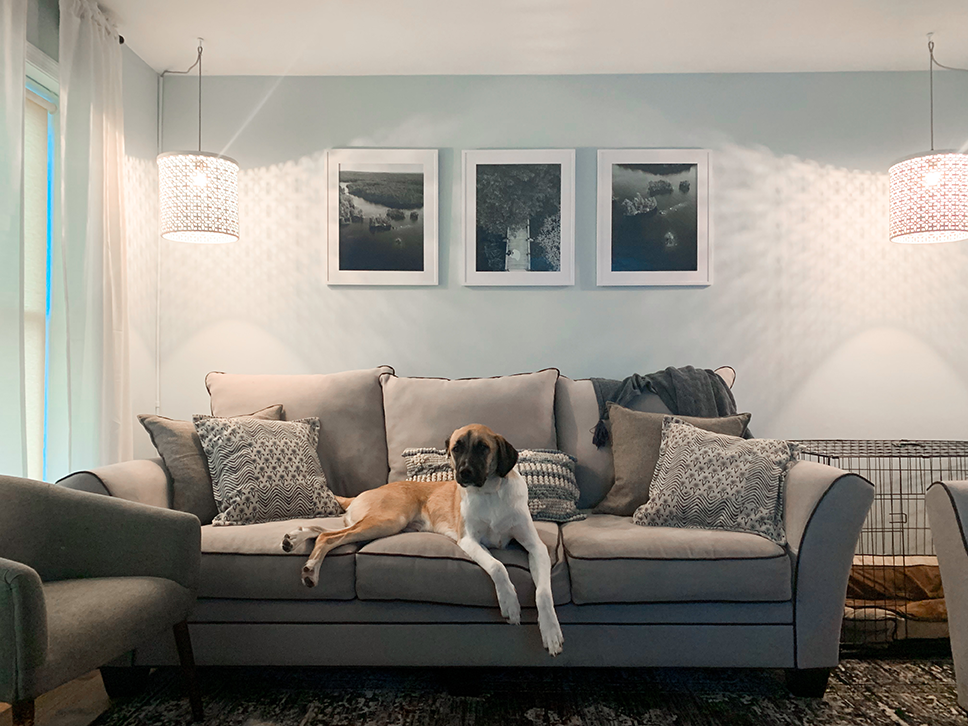
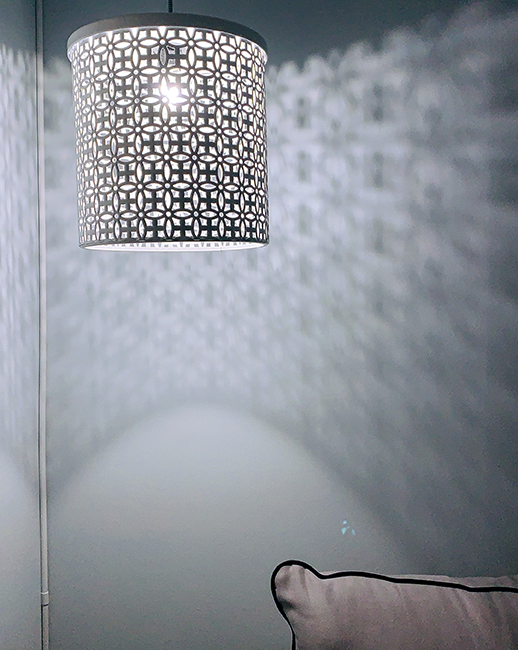
I LOVE a good light fixture. I think they’re one of the biggest impact-makers in a space. They can completely change the atmosphere in a room. Especially when they throw out a pattern of light, which can be so fun to set the mood of a room.
They can get super expensive though, and this is a really easy way to take some inexpensive, everyday materials and turn them into a show-stopping pendant light. Literally just a metal trash can and a light kit can transform your space. For this project, you can really easily test the amount of light that your pendant will throw by just sticking your light bulb inside and turning it on to test it out in your room.
Materials:

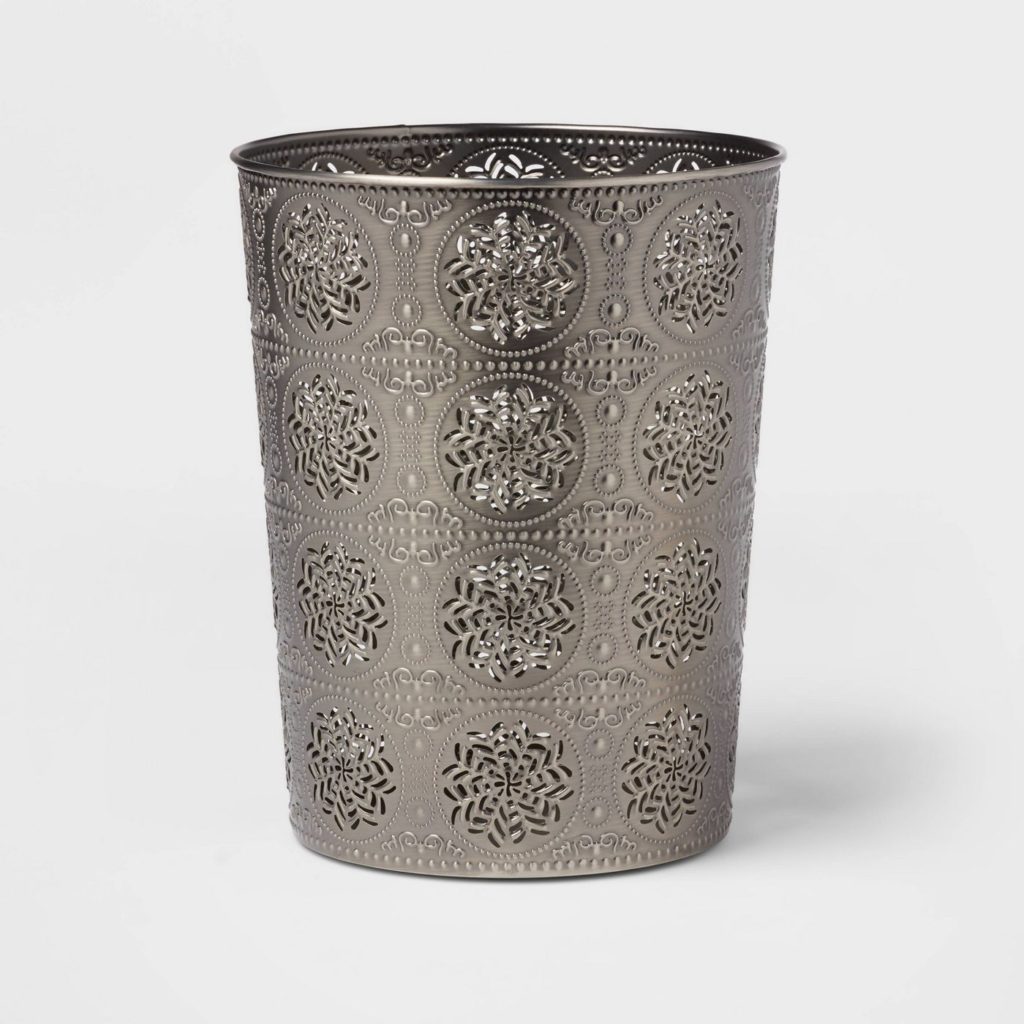
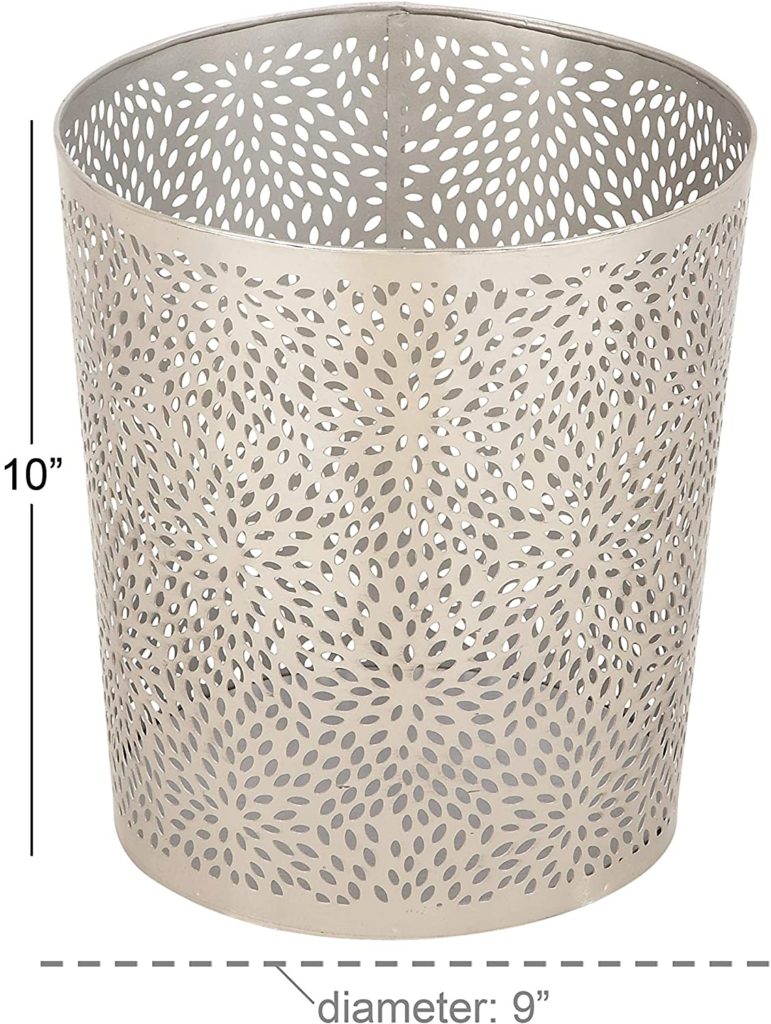
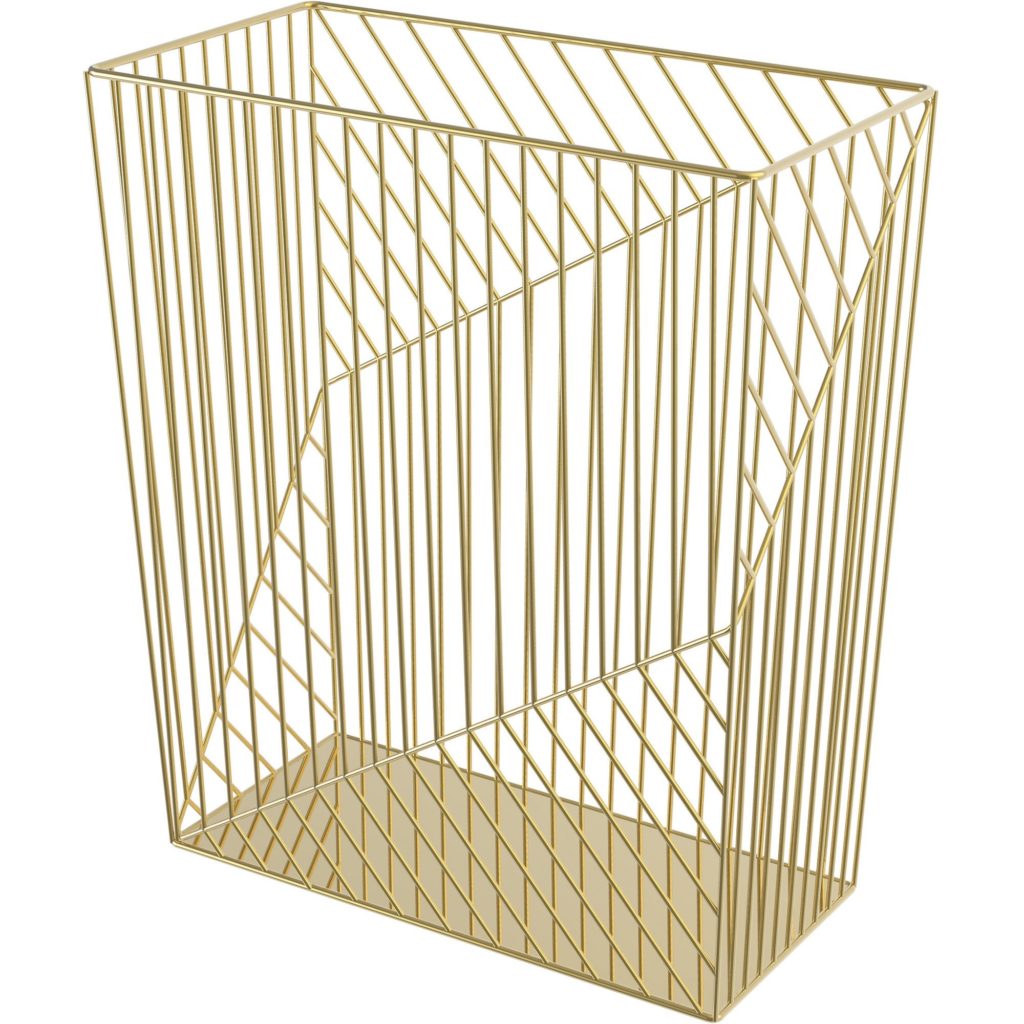
- A cool metal waste basket – Any cool metal basket/plant stand/bucket will work for this as long as it has a hole or holes where light can come through. I have only tried this on a basket that had a solid, flat bottom that I drilled through. The one I used was from Hobby Lobby and is no longer available but here are a few cool ones I found:
From Target – This one would not throw a lot of light but would look almost like a Moroccan lantern which would be so gorgeous.
From Amazon – A simple, feminine patterned basket.
From Walmart – This would look almost mid-century modern and would throw a lot of light. Would be very cool!
- Hanging light kit – The one I used was not hardwired because I was adding hanging lamps in a place where we didn’t already have a light fixture and I didn’t want to add electrical work. I also needed to make sure that I could get the light kit through the hole and that the shade would sit against the plastic light bulb part.
- Light bulb – Any light bulb will work here. I used a clear globe bulb but you could play around with Edison bulbs or something funky depending on how much light you want in your space.
- Drill – Any drill with interchangeable bits will work, but this is the one we have.
- Hole Saw drill bit suitable for boring into metal – Make sure that you measure the diameter of the part of your light kit that the bulb screws into before you buy this Hole Saw. You’ll want the wastebasket to sit on top of that plastic lip of your light kit, so the hole you drill should be small enough to sit on top of that, but large enough that it sits against the plastic and doesn’t wobble around on the cord.
That’s it! 5 items and you’re on your way to great lighting.
Instructions:
- Find the center of your metal basket. Measure it and mark the middle.
- Attach your Hole Saw bit to your drill.
- Brace your basket and wear goggles to protect your eyes from any metal particles. Line up your drill at the center point and drill your hole. It may take a little elbow grease and patience but if your drill bit is rated for metal, you should be able to get through.
- Pull your light kit through the hole so that the metal shade sits against the wider plastic part of the light kit.
- Screw in your bulb and plug it in!
I’d love to see your pendant lights if you give this a try! Tag @sochasefulhome on Instagram or send them to me here!

Leave a Reply